This short guide will show you how to use Microsoft Azure Automation for managing the start and stop of your Microsoft Azure Virtual Machines.
This guide provides to PowerShell Automation script for Azure Automation:
- Workflow: Start_My_Azure_VMs – Start_My_Azure_VMs.ps1 (5.26 kb) – Script for starting domain controllers first and than all the rest of the virtual machines on your Azure Subscription
- Workflow: StopMyAzureVMs – StopMyAzureVMs.ps1 (4.97 kb) – Script for shutting down all virtual machines on your Azure Subscription
See the functionality of the scripts here:
Implementation of the scripts
Here are the steps needed to get everything up and running.
- Sign into the Windows Azure Portal (https://manage.windowsazure.com)
- Subscribe to Azure Automation Preview
- Create an Automation Acount (For more information: http://azure.microsoft.com/en-us/documentation/articles/automation-create-runbook-from-samples/?WT.mc_id=Blog_SC_Automation_Azure)
- Create the “Asset” for the Runbooks
- Upload the previously downloaded Automation Runbooks to the Automation Account
- Change the names in the Runbooks to reflect the assets and the Domain controllers
Sign into the Windows Azure Portal and subscribe to Automation Preview
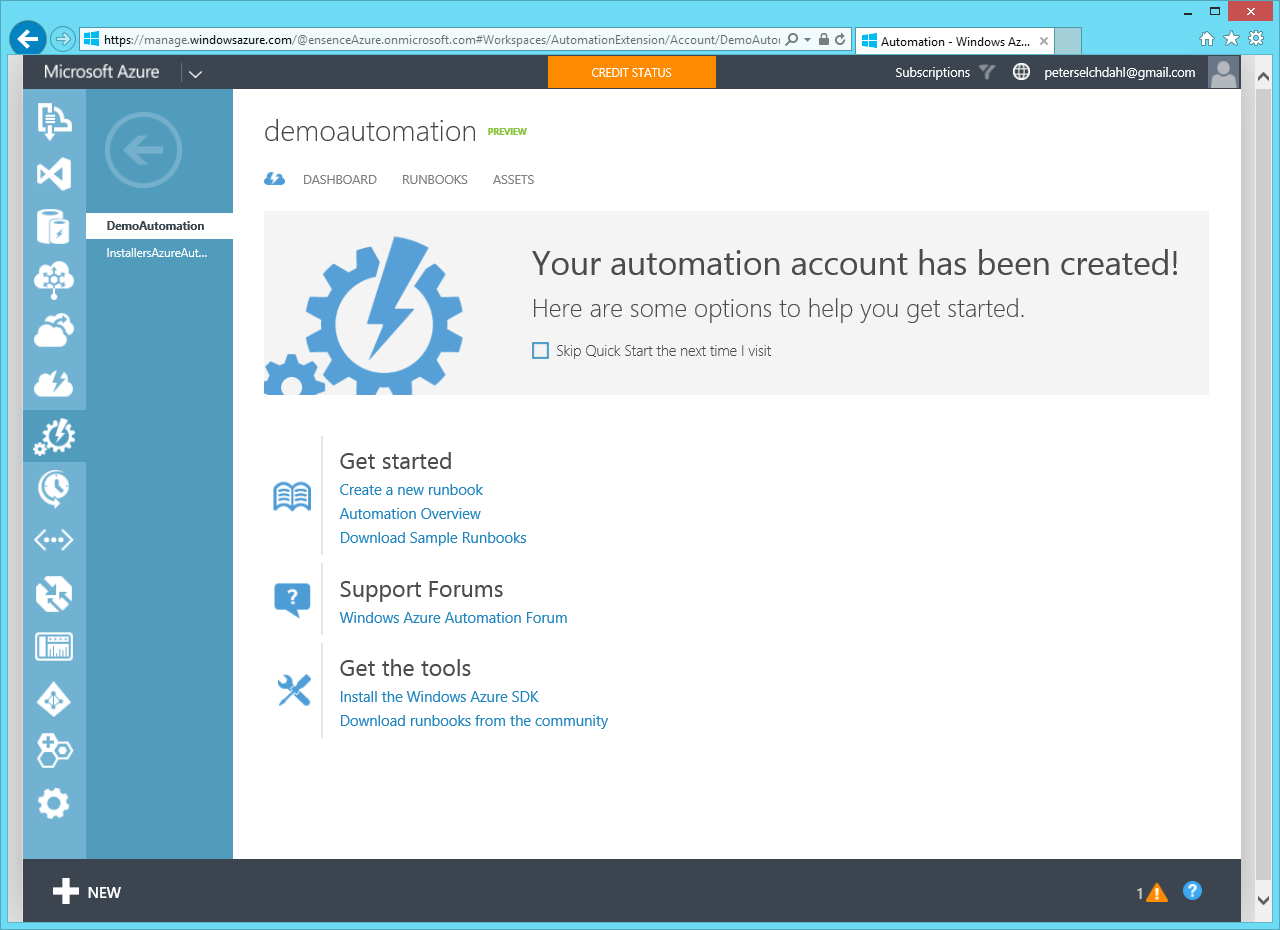
Sign in to the Azure Portal and navigate to Automation.

Create the Automation Assets
Create a Certifcate Asset (It must be a Management Certificate) and a connection asset.
Connection Asset:
Certificate Asset:
Download the Runbooks and upload them to the Automation Account:
Download the files
Start_My_Azure_VMs.ps1 (5.26 kb)
Upload the files to the accounts

Change Asset names and information with the Runbooks